Pig Pen Fence
How to build a pig pen fence
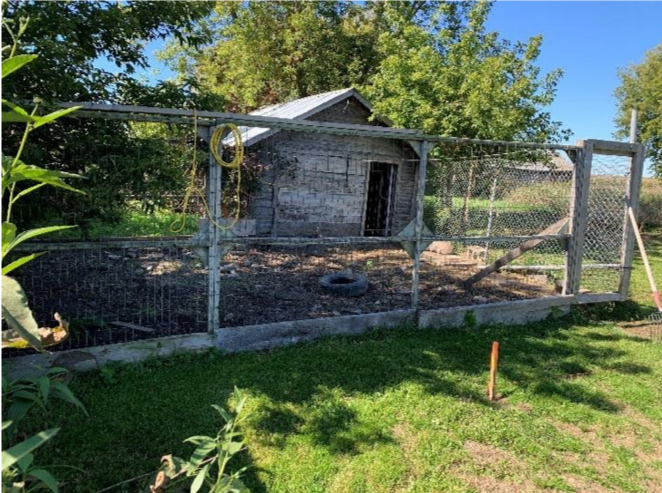
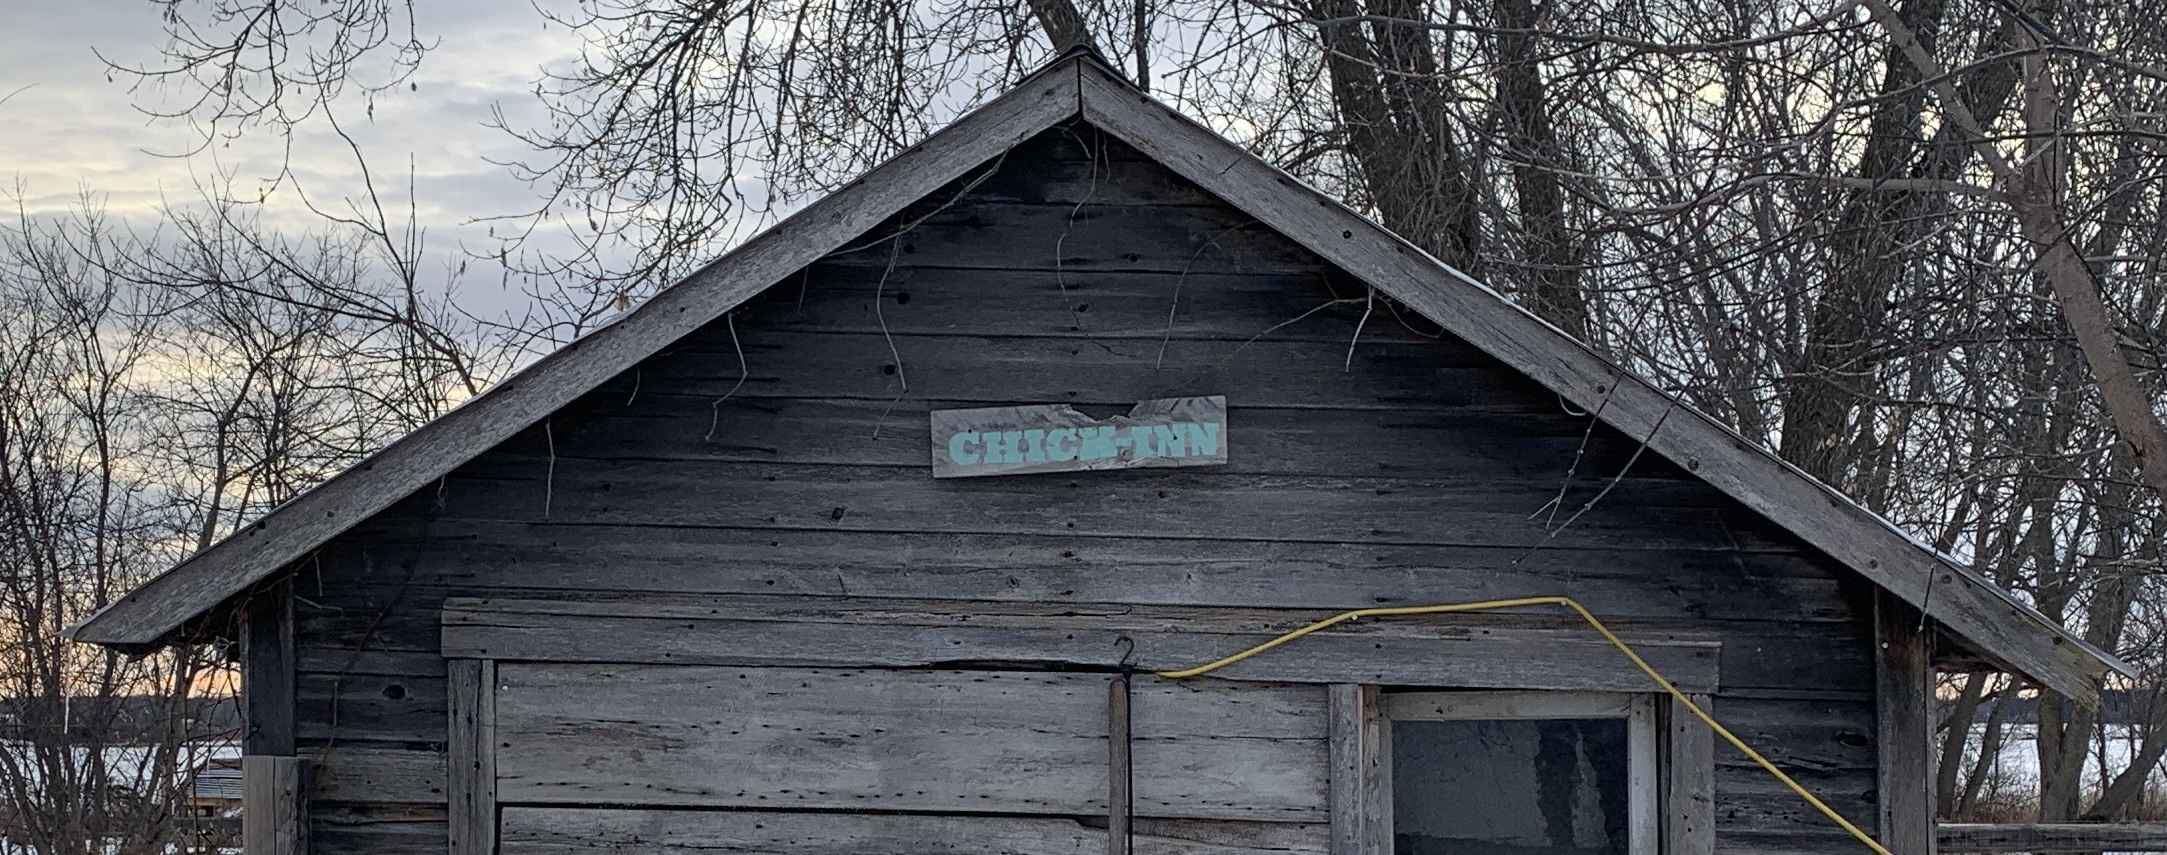
Mick Jagger The Mini Pig lives rent free in a converted chicken coop.
In his estimation, the digs were literally and figuratively for the birds.
His imaginary letter to management, requesting an addition, went unsent, unopened and unread.
And so, fed up with the lack of attention to this important matter he took things into his own hooves and embarked on the most fun part of any renovation: Demolition.
The little bugger pulled off boards, and chewed through the fence so that he could pull grass, flowers and part of a tree through the fence.
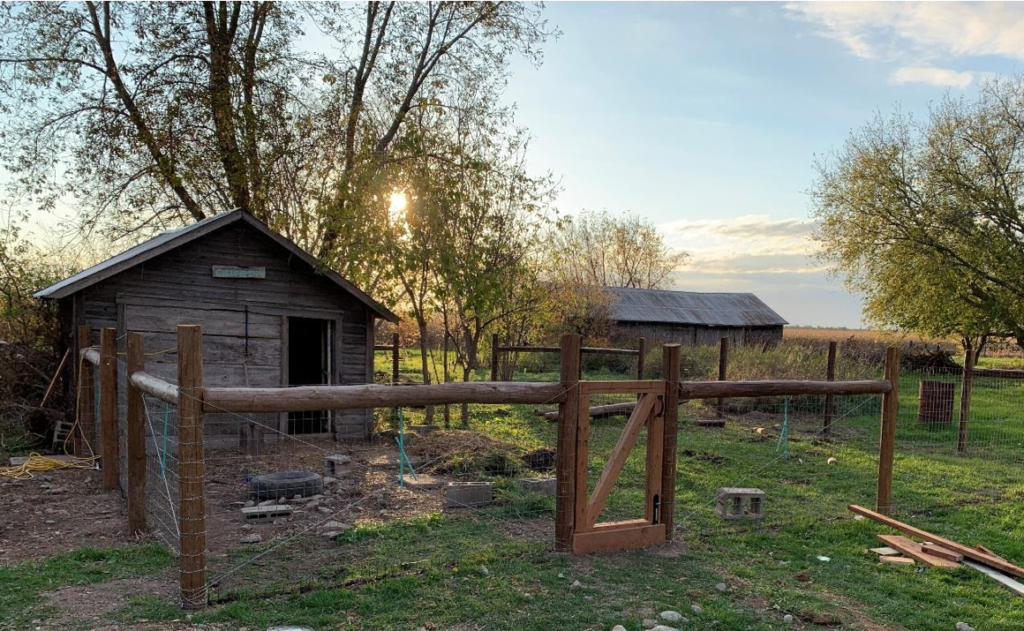
Renovations followed and by golly, Mike Holmes would have a heckin’ giraffe if he saw Mick’s handywork.
This, dear readers, brings us to the topic at hand!
How to build a pig pen fence by hand (no heavy machinery required)
Materials
- Cedar or white pine posts (approximately eight (8) feet long with a five (5) to six (6) inch diameter. In our case, we salvaged the posts from other rundown structures on the property.
- 12.5 gauge woven wire fence (four (4) feet high)
- Gravel / stone (salvaged from property)
- 12 gauge wire fencing (for H-braces).
- U-nails (we ordered a box for pickup from our local RONA.ca)
- Pliers
- Hammer
- Metal digging bar / tamping bar
- Post hole digger (use an auger if you can, it will save you time and energy! Renting one wasn’t in our 0 dollar budget)
- Shovel
- 4 foot level
- String / twine
- Come along winch
- Wood sealer
How To : Step By Step Instructions For Building A Pig Fence
VIDEO COMING SOON!
- Outline the pen
Begin by marking the layout of the pen on the ground. Use wooden stakes to mark the corners and run twine between the stakes. Ensure the corners are square by using the 3-4-5 rule: Measure and mark a point 3 feet down one side of the twine then mark and measure a point 4 feet down the other side. The distance between the two points should be 5 feet and ensures that the corners are square. With the twine in place and corner’s squared, use spray paint to mark where each post and the gate will be placed.
- Dig
On the posts are marked, it’s time to dig. If you are sensible, you’ll just bite the bullet and rent an auger. We choose to use a regular shovel. To each their own. Each post hole was 12 – 14 inches wide and 3 1/2 feet deep. The bottom of the hole is then filled with 6 inches of loose grave and tamped down. The gravel allows for drainage.
- Post preparation
Many of the posts we salvaged from the property were 16-18 feet long. We used a chainsaw to cut them down to approximately 8 feet. Once cut, lay the posts horizontally on an elevated surface and apply 3 coats of clear waterproofing stain.
- Set the corner posts
Place the post into the corner hole and backfill and tamp in about 6 inches of fill (dirt) around the base of the post using a metal digging bar. Periodically check to make sure it remains level and is set firmly enough to stand on its own. When the post is indeed level, place more (6-8 inches) fill, tamping in as you work, being sure to tamper every time 6-8 inches of fill is added. Repeat process until the hole is completely filled. The post should be so solid it cannot budge.
- Set the remaining posts
Once the corner posts are set, run twine between each corner post. This line provides a reference for lining up the remaining posts. Repeat the process of placing posts in the holes, filling with dirt, leveling and tamping as every 6 – 8 inches of dirt is added.
- Add bracing
Once all the posts are in place, it’s time to add additional stabilizers to prevent the posts from shifting. For this, use H-braces at every corner and gait. An H-brace is a horizontal post that runs between 2 vertical posts. H-braces are important as they add strength to your fence as well as provide stable points for pulling, stretching, and securing the wire fencing. We have a video below of how we incorporated an H-brace into Mick’s pen.
- Hang and stretch the wire fencing.
Once the H-braces are in place it’s time to attach the wire fencing. We used 12.5-gauge galvanized wire fencing 4 feet tall, with 2”x 4” spacing. You could use hog fence panels that are already cut into a particular size but we already had a roll of horse fence on hand and decided to use it for this project.
Stretching the fence involves first unrolling it the length of one side of the fence. At the starting corner I removed all the vertical wire with wire cutters/pliers 12-16 inches from the end which results in horizontal strands of wire. Then use these horizontal strands of fence wire to wrap around the corner post and secure it to itself by twisting the wire, which anchors the wire fence to the corner post. You must ensure that it is wrapped tightly at this point as this will be holding the wire fence as you stretch it. Then, stand the fencing up and lean it against the posts the length of one side. Next, cut the fence at the other end leaving 2-3 feet extra.
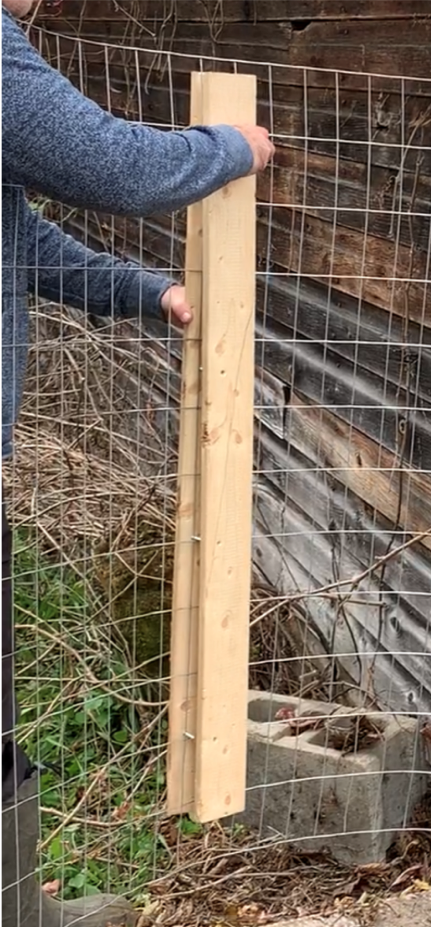
Now it was time to stretch the fence. To do this use a come along winch and two pieces of lumber. The lumber is used to sandwich the end of the fence between two pieces of lumber bolted together which would allow the winch to be attached to the top and bottom portions of the fencing. This helps evenly distribute forces as the fence is pulled and stretched. Should you neglect this step, you will ultimately only be pulling on part of the fence, say the middle, which would result in the fence being too tight across the middle and loose at the top and bottom.
With the winch attached to the piece of wood at the top and bottom stretch and pull the fence until it is quite taunt. Work carefully, leaving tension on the fence from a few munutes, then applying more pressure with the winch to avoid snapping the wire.
- Attaching the wire fence.
Once you are satisfied with the tension of the wire, affix it to the other corner post. To do this, keep the tension on the fence and snip and remove all the vertical wires in the mid-section of the fence, approximately 12 inches beyond the post. A horizontal strand of wire will remain, which is then attached to the corner post. Once these pieces are in place, repeat the process of cutting the rest of the vertical wires and attaching the horizontal sections to the corner post. It is important to try and maintain as much tension as you can in the fence while you do this and not to do too many levels at once. If you do, you will likely lose all the tension you have been trying to create. After stretching and attaching both ends, hammer in the U-nails in the middle posts every 3-4 inches. Then, repeat the stretching process on the remaining sides.
- No dig fence (optional)
Because pigs love to root and dig, we added additional fencing below grade. To do this dig a trench between each fence post and lay additional wire fencing into the trench and burying it. Ideally you would have a taller fence that you could just bury in the trench when you stretched the fence. However, because I only had a 4 foot fence available at the time we decided to add the ‘no dig’ fence this way.
10. Build and add a gate