
Old Door Headboard

How to turn an old door into a headboard
Know what rhymes with ‘paint colour’? ‘Annoyed husband’.
You hear it, no?
Michael has lugged this heavy DYI beauty up and down the curved staircase a couple of times now.
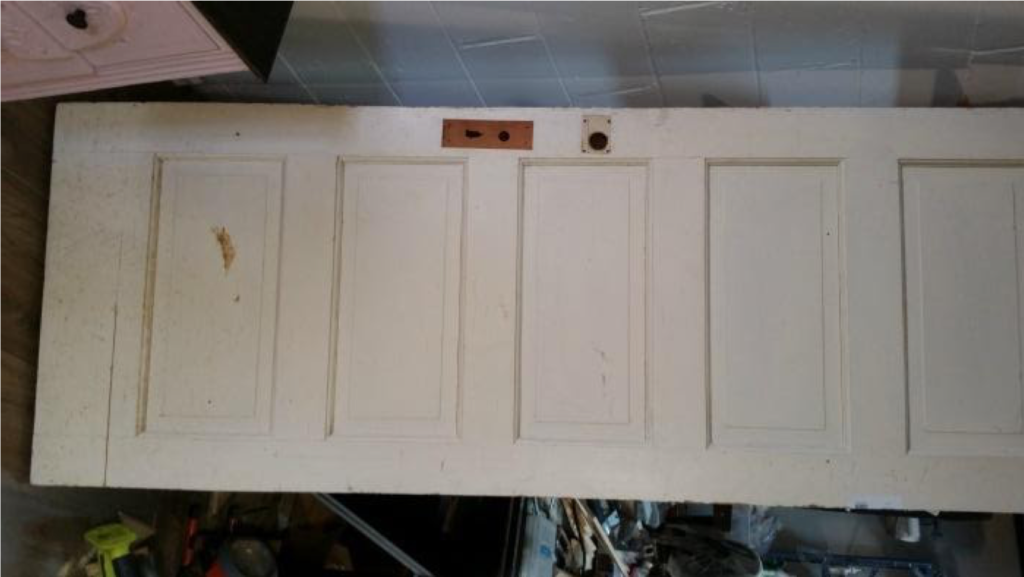
It’s made from a 1920’s old wood door that was discarded from a neighbour’s renovation project.
The colour that once suited our bedroom in our former townhouse, downtown in a historic neighbourhood in the city, looked terrible in our farmhouse.
Given the pandemic meant a temporary pause on the world as we know it, (or at the very least, the days of cute, sticky little bio terrorists spitting on candles on birthday cakes) leisurely browsing the paint aisle was out of the question.
“Online shopping for paint it is!”, I naively exclaimed.
So that was expensive.
Currently open to ideas on what I can do with a half a dozen cans of unused paint.
Mike made this headboard about 8 years ago, so the pictures of that project are in heaven now (or maybe in The iCloud? Who knows. In any case, both are complete mysteries to me, and based on my remarkable IT skills, once things cross the Pearly Apple Gates, it’s gone and lost forever, rest in peace dear old iphone photos.
Turning an old door into a headboard isn’t too complex of a project, and you do not need much space to do so. We did not have a yard when we lived in our downtown townhouse, not a single blade of grass to our name, and completed the project in our tiny little parking space, just in front of our place.
How to turn a old door into a headboard
Material
- Old door
- Two (2) – 2”x 4” pieces of wood
- Three (3) – 1” x 4” pieces of wood (we used poplar from the local hardware store)
- Wood glue
- Finishing nails
- Measuring tape
- Hammer
- Hand saw / Mitre saw / Skil saw / Circular saw
- Paint
- OPTIONAL: materials for striping paint (i.e. scrapers, heat gun, sand paper, chemical paint stripper). The door we had found had at least 8-9 layers of paint and decided it would be best to get it back to bare wood for a better finish.
Steps
- Cut door to size:
The size of your mattress will determine how you are going to cut the door. Generally, headboards are a few inches wider than the mattress. In our case we cut the door to 65 inches to fit our queen size bed. Measure and use a circular saw to rip it to size.
- Add the trim
We used 2×4’s on the ends of the door, cut to 55 inches. The 2×4’s framed the door on either side and added stability and created an anchor point on the bed frame. The 2×4’s were then covered with a 1×4 of poplar on either side and an additional piece of poplar cut to length was added to the top.
- Paint and install
Once painted attach the headboard to the bed frame with bolts through the 2×4’s. You could also attach it to the wall with hangers or simply lean it against the wall.
The Farrow and Ball paint creates a relaxing, inviting space, that I would rather not leave until 10 am, but the baby has other ideas…